You accidentally deleted your entire Apple Photos library. How to undelete it.

e.g. you’re trying to view the package contents of the “Photos Library” (in /Users/[username]/Pictures/), so you can check an original file, RAW image, etc. – but you’re not thinking properly, accidentally click the wrong option in the menu and send the entire contents to the Recycle Bin by mistake.

You stop the deletion immediately, and the Photo Library isn’t in the Recycle Bin, and still appears to be in the usual location in the Finder, but, on launching Photos (macOS Mojave 10.14.6, in this case) it says it has failed to repair the library and invites you to open another one.

The fix is very simple – first, disconnect your Time Machine drive (or any other automated backup location) to avoid harming your backups.

  • close Photos if it’s open
  • hold down the command + option (alt) keys while clicking the icon
  • the Photos app will open and should immediately offer to repair the library for you.
  • supply password when prompted
  • wait a while (a few minutes for 80GB of photos in my case) while the photolibraryd process rebuilds the library (you’ll see a fairly accurate progress meter)
  • browse / continue to use the library for a while to check everything is still there and ok (mine was).

On a related note, I highly recommend Adobe Lightroom Classic (superbly well thought out app, very powerful and perhaps also the best designed keyboard shortcuts I have ever seen). The £10 a month Creative Cloud subscription is worth it (get the one that also gives you Photoshop). It’s considerably better at things like HDR and spot removal/healing brushes than, for example, Pixelmator Pro, Affinity Photo etc.

Only issue is that it can eat memory. Keep an eye on that and be prepared to relaunch if it, as has happened to me a couple of times, it creeps up to 9GB.
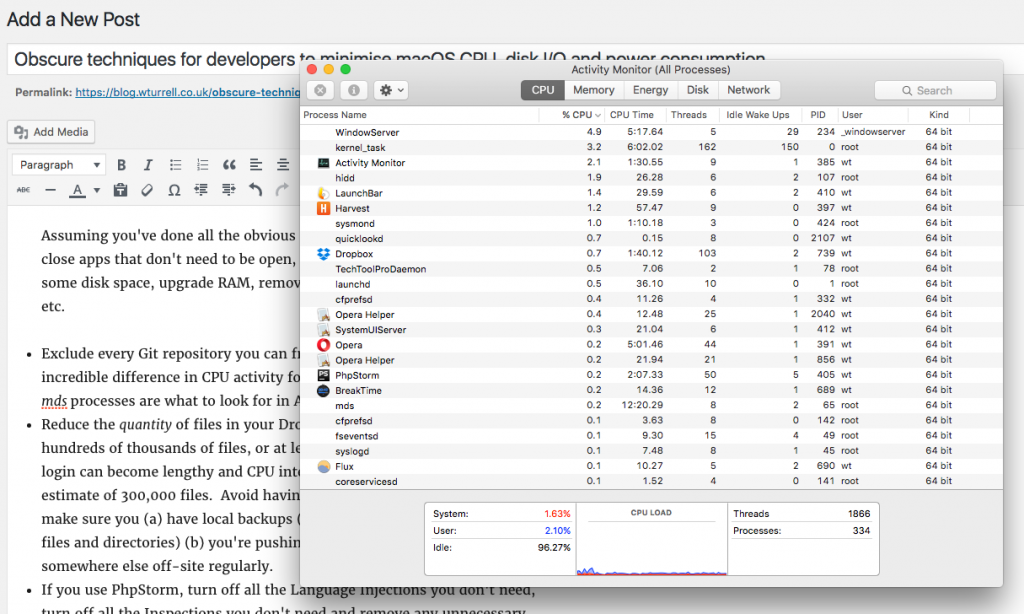
Obscure techniques for developers to minimise macOS CPU, disk I/O and power consumption

updated Sat 11 Feb 2017

Me writing this blog post

Assuming you’ve done all the obvious things, e.g.: remove unwanted apps, close apps that don’t need to be open, remove System Preference pane based apps you can do without, tidy the Login Items list, free up sufficient disk space, upgrade RAM, remove unnecessary browser extensions etc.

  • Exclude every website, Git repository and virtual machine on your Mac from Spotlight search.  This made an incredible difference in CPU activity for me (the mdworker and mds processes are what to look for in Activity Monitor).
  • Reduce the quantity of files in your Dropbox folder. It can’t cope with hundreds of thousands of files, or at least the indexing process on initial login can become lengthy and CPU intensive as you near Dropbox’s own estimate of 300,000 files.  Avoid having any Git repositories in there – just make sure you (a) have local backups (Time Machine only backs up certain files and directories) (b) you’re pushing to GitHub, Bitbucket or somewhere else off-site regularly.   Download AWS CLI and sync a .tar.gz occasionally with an S3 bucket.
  • If you use PhpStorm, turn off all the Language Injections you don’t need, turn off all the Inspections you don’t need and remove any unnecessary plugins.  You’ll almost certainly have a handful of candidates for each of those three areas – i.e. languages or frameworks you never use.  Just familiarise yourself with what’s available every now and again so if you do work on an unusual project you have a better chance of remembering to turn the necessary options back on.

(P.S. I’m still using El Capitan 10.11.6 and have no plans to upgrade for several months.)

Mac load average

$ sysctl -n vm.loadavg
{ 1.29 1.38 1.45 }

If you think the Mac load average seems high compared to Linux, here’s an explanation of how it’s calculated.  The CPU idle % is a more useful measure of how loaded your system is (the above measurement was taken with 97% idle CPU).

backup2l troubleshooting – skipcond not ignoring paths

Something to watch out for…

backup2l, the popular Unix backup software, has a setting in /etc/backup2l.conf called skipcond that lets you ignore files/paths.  It uses find syntax.

You might have written something like this if you don’t want to both backing up old logs, say:

SKIPCOND=(-path /var/www/mysite/system/cms/logs/log*" -o -name "*.o")

But when you run backup2l -e to simulate the backup, it says:

856 / 43210 file(s), 13 / 5003 dir(s), 2.2GB / 4.3GB (uncompressed)
skipping: 0 file(s), 0 dir(s), 0 B (uncompressed)

You know this is wrong for two reasons, the overall size is too big and it’s not skipping anything.

This could be because of symlinks.  To debug, run a real backup (with the -b switch), and use backup2l -l [pattern] (where pattern is some file(s) you know are in the directory you want to exclude) to see what’s there.

You may find it’s actually backing up /usr/share/nginx/mysite, because /var/www is symlinked to it:

lrwxrwxrwx  1 root root    17 Aug  2  2015 www -> /usr/share/nginx/

Remember backup2l has a purge (-p) option that lets you remove individual differential or incremental backups by specifying the number. So if you’ve just run all.1375, say, you can delete that with -p 1375 and when you run it again it’ll reuse the number.