Things I never knew existed: Gitk

Gitk is a built-in GUI repository browser for Git.

There are options, but to begin with, just launch it by typing gitk

It’s fast and handy if you just want to quickly browse commits or staged/unstaged files and don’t have an alternative GUI app.

Also a useful companion if you’re doing interactive staging.

You can instantly search full commit messages (matching commits will be shown in bold, remember to set IgnCase otherwise the search is case sensitive).

You can also use the touching paths option to look for files affected by a commit, and you can search by strings added or removed or changing lines matching.

There’s a second search box for finding things in the diffs.

You can modify colours, fonts and so on.

NB: Sourcetree has command line tools as well (so you can type stree, though I couldn’t get them to install properly when I tried).
Git apply no output / no effect – troubleshooting Drupal patches

Be aware that for Drupal, when testing patches from the core issues queue, you can only use the git apply command on the main repository:

https://git.drupal.org/project/drupal.git (browse code)

(i.e. choose 8.2.x or 8.3.x according to issue )

and not on drupal-composer/drupal-project (e.g. a DrupalVM install)

This is logical, the commit IDs in the .patch file simply can’t be found in that repo, so git skips them.  Instead you should use:

patch -p1 < example.patch

…as described here. (You still use -R to reverse it.)

What’s less helpful is git apply will give you no warning there’s a problem – you’ll run the command, see [ok] but no other output, as though it had worked.

Likewise using any of these switches won’t print anything to the screen:

--verbose
--summary
--check

Annoying, the instructions for  --check imply it might tell you:

Instead of applying the patch, see if the patch is applicable to the current working tree and/or the index file and detects errors. Turns off “apply”.

(See also)

Suggested Checklist

  • create a new branch for the patch you’re testing
  • run git diff to check the files have actually been altered
  • run drush cr too to reset cache/UI etc. before testing

Obscure techniques for developers to minimise macOS CPU, disk I/O and power consumption

updated Sat 11 Feb 2017

Me writing this blog post

Assuming you’ve done all the obvious things, e.g.: remove unwanted apps, close apps that don’t need to be open, remove System Preference pane based apps you can do without, tidy the Login Items list, free up sufficient disk space, upgrade RAM, remove unnecessary browser extensions etc.

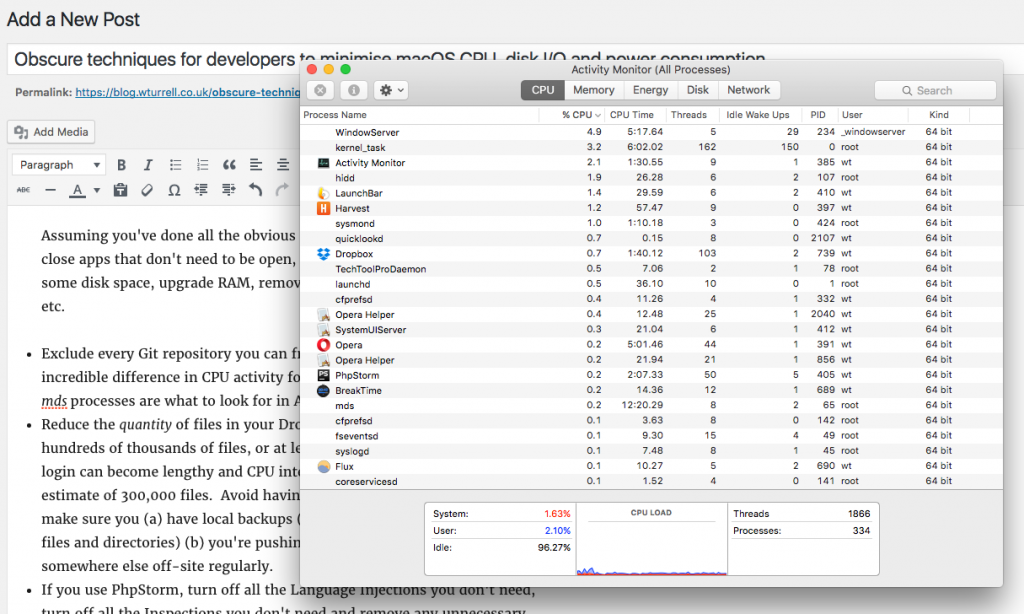
  • Exclude every website, Git repository and virtual machine on your Mac from Spotlight search.  This made an incredible difference in CPU activity for me (the mdworker and mds processes are what to look for in Activity Monitor).
  • Reduce the quantity of files in your Dropbox folder. It can’t cope with hundreds of thousands of files, or at least the indexing process on initial login can become lengthy and CPU intensive as you near Dropbox’s own estimate of 300,000 files.  Avoid having any Git repositories in there – just make sure you (a) have local backups (Time Machine only backs up certain files and directories) (b) you’re pushing to GitHub, Bitbucket or somewhere else off-site regularly.   Download AWS CLI and sync a .tar.gz occasionally with an S3 bucket.
  • If you use PhpStorm, turn off all the Language Injections you don’t need, turn off all the Inspections you don’t need and remove any unnecessary plugins.  You’ll almost certainly have a handful of candidates for each of those three areas – i.e. languages or frameworks you never use.  Just familiarise yourself with what’s available every now and again so if you do work on an unusual project you have a better chance of remembering to turn the necessary options back on.

(P.S. I’m still using El Capitan 10.11.6 and have no plans to upgrade for several months.)

Mac load average

$ sysctl -n vm.loadavg
{ 1.29 1.38 1.45 }

If you think the Mac load average seems high compared to Linux, here’s an explanation of how it’s calculated.  The CPU idle % is a more useful measure of how loaded your system is (the above measurement was taken with 97% idle CPU).